 Gil’s Garage
Gil Baumgartner
CTCI Authenticity Chairman
Before attempting to start a newly rebuilt engine a few simple steps will insure that it will start on the first attempt. Steps 1, 2, 3 & 5 can be accomplished while the engine is still out of the car and on a stand.
(click on picture for larger image)
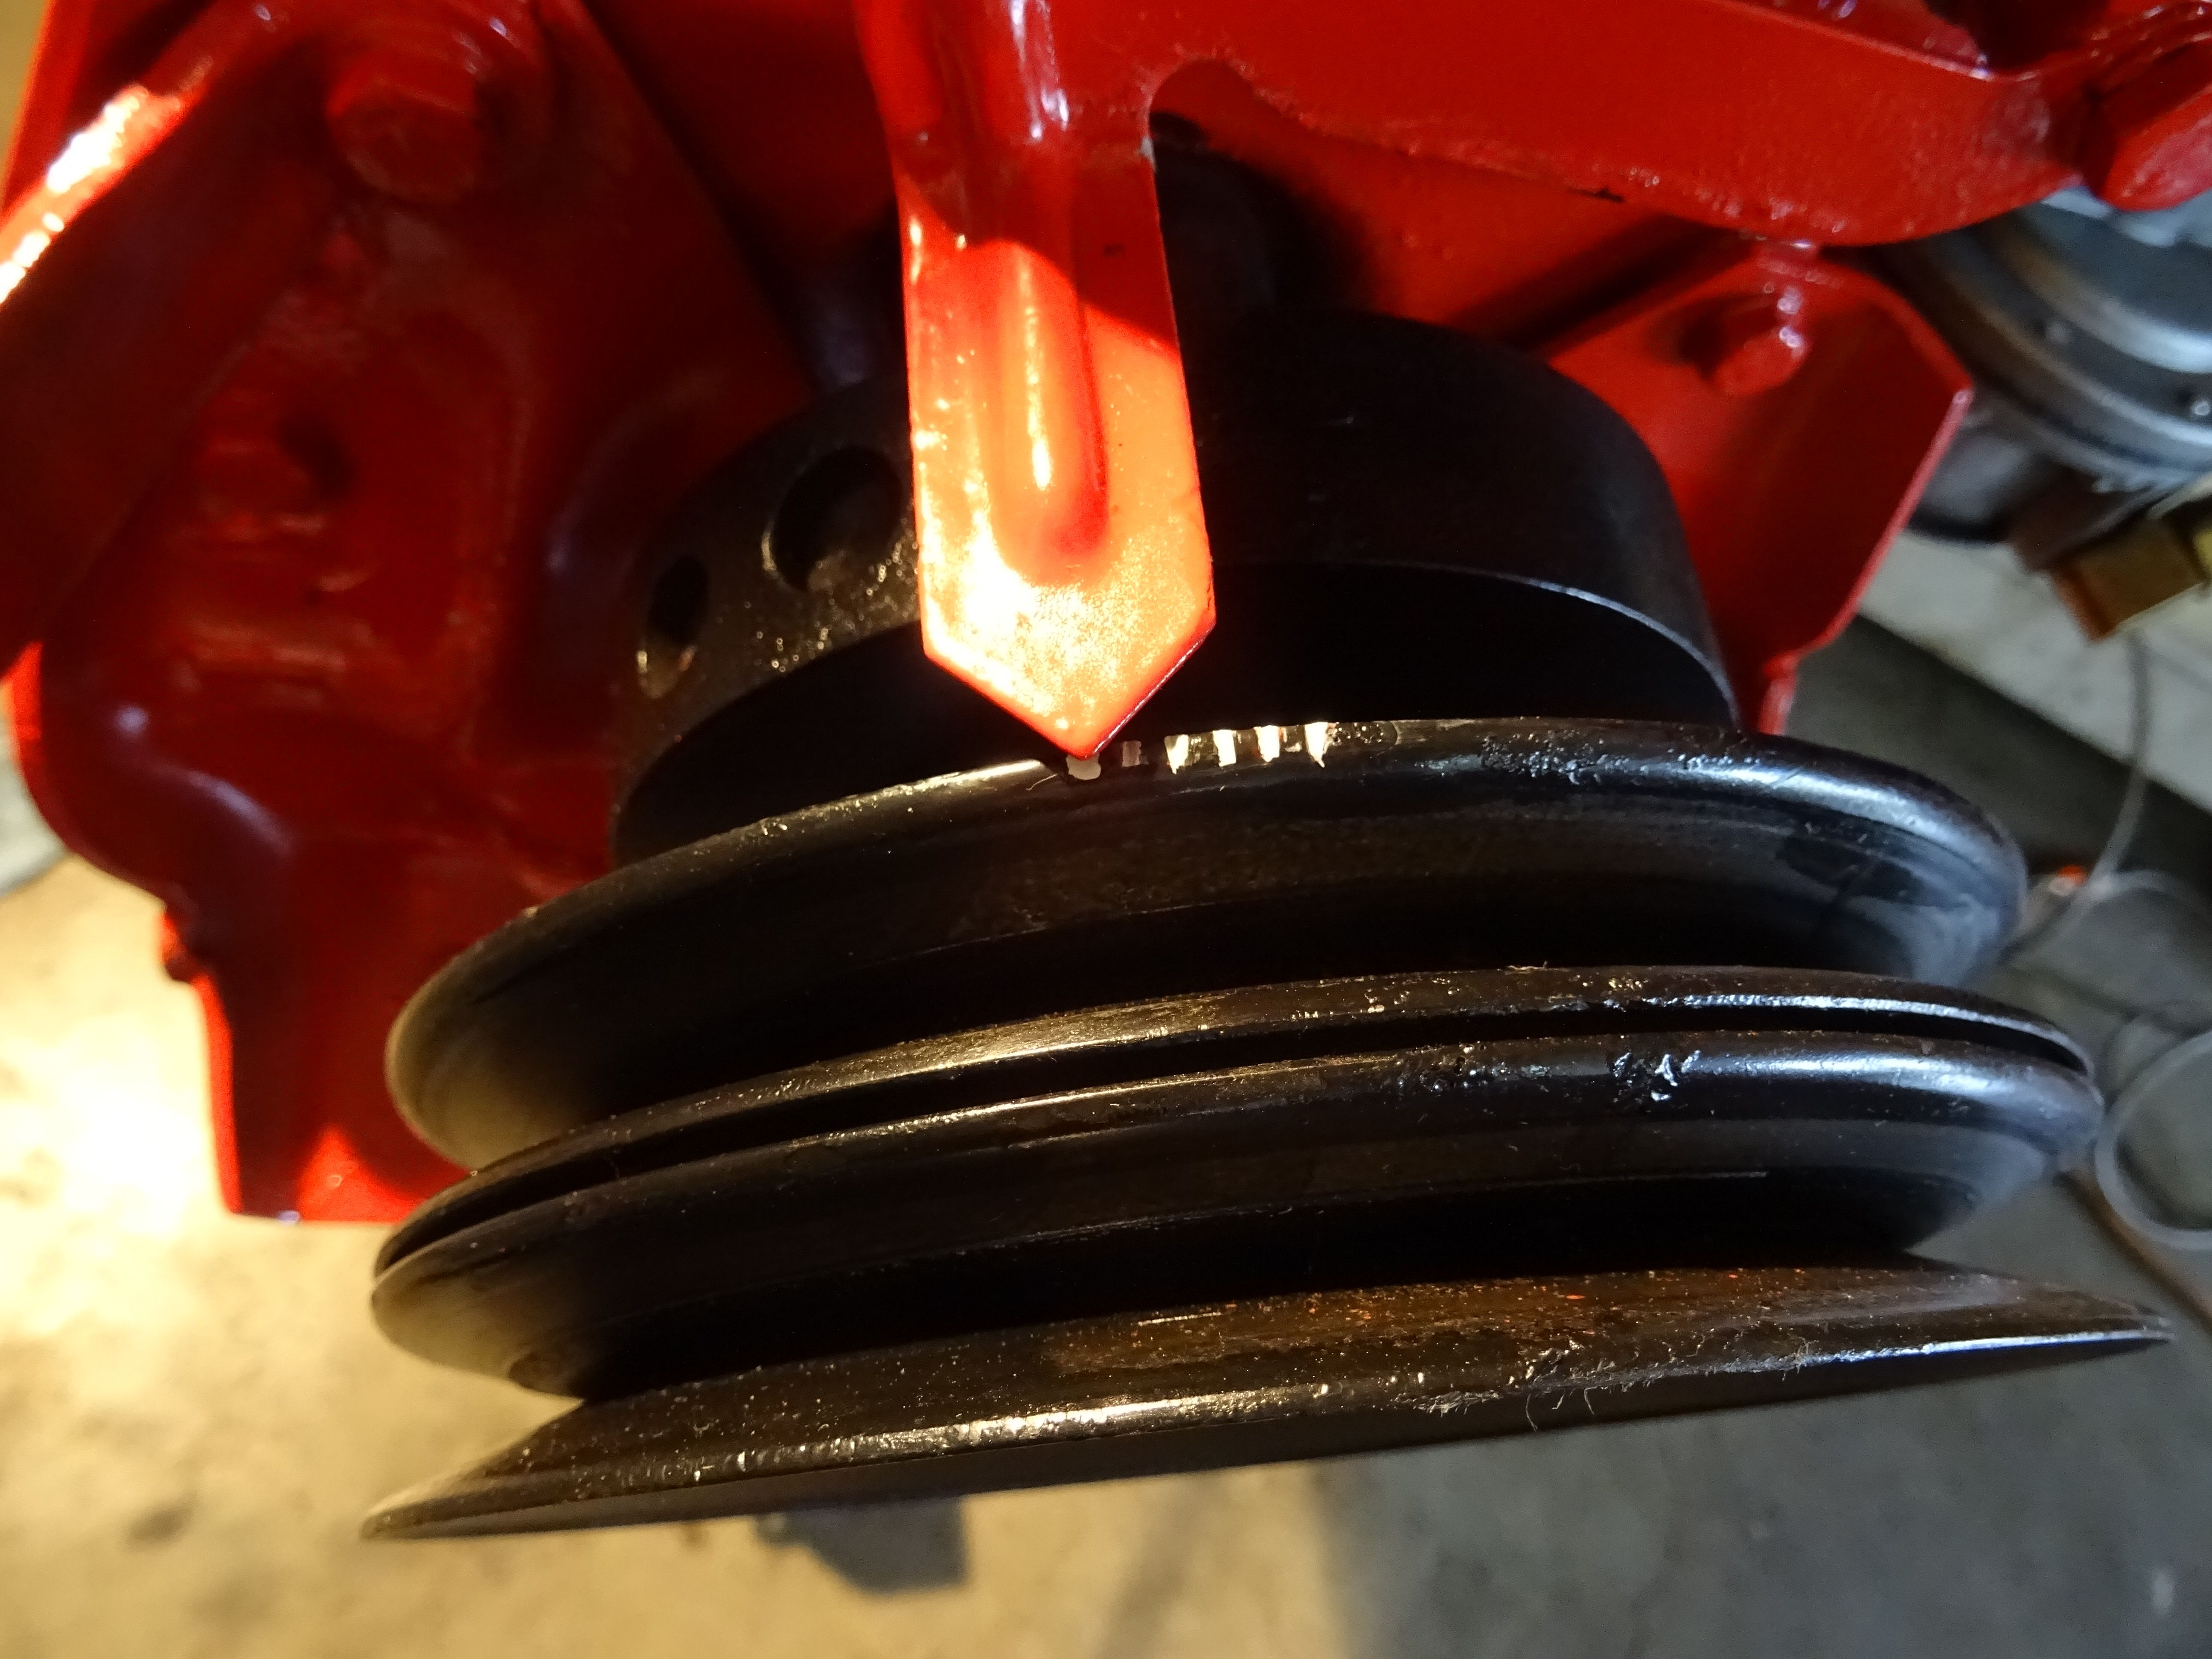
1 – Align the timing pointer to top dead center (TDC). Photo 1
(click on picture for larger image)
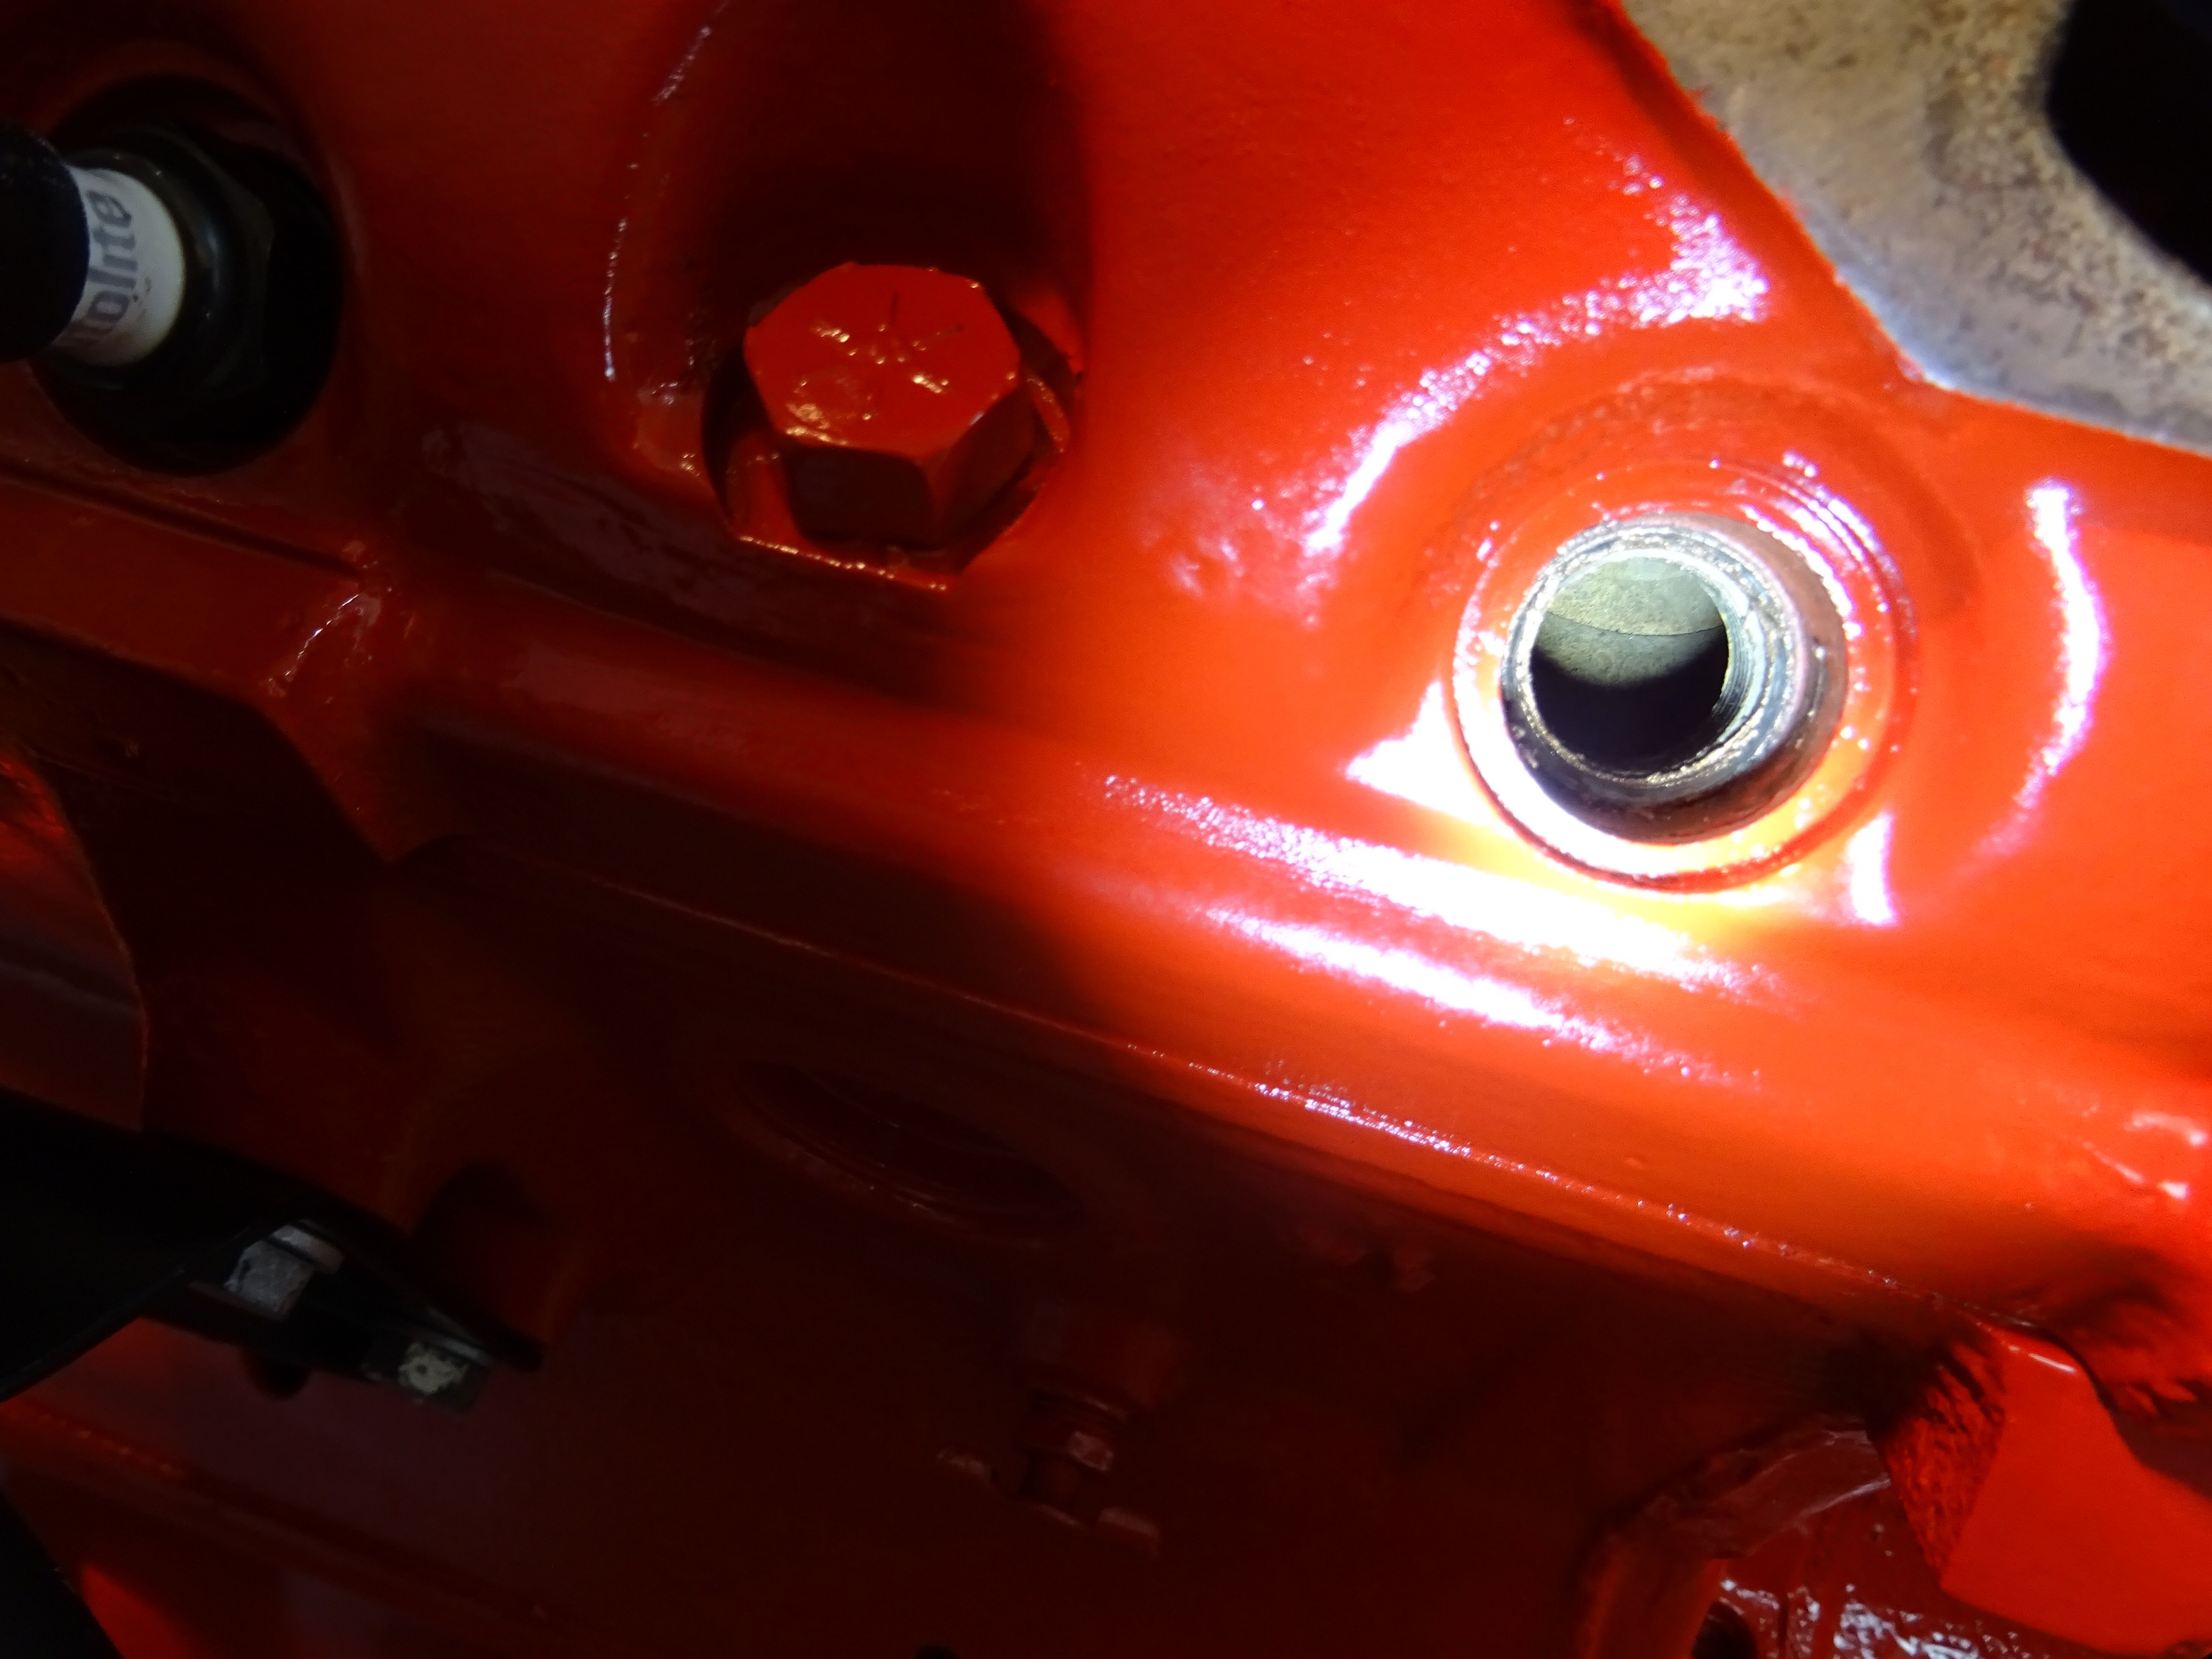
2 – Insure #1 piston is at the top of its compression stroke, which can be verified with #1 spark plug removed (Photo 2) and both intake and exhaust valves closed as described in step 3.
(click on picture for larger image)
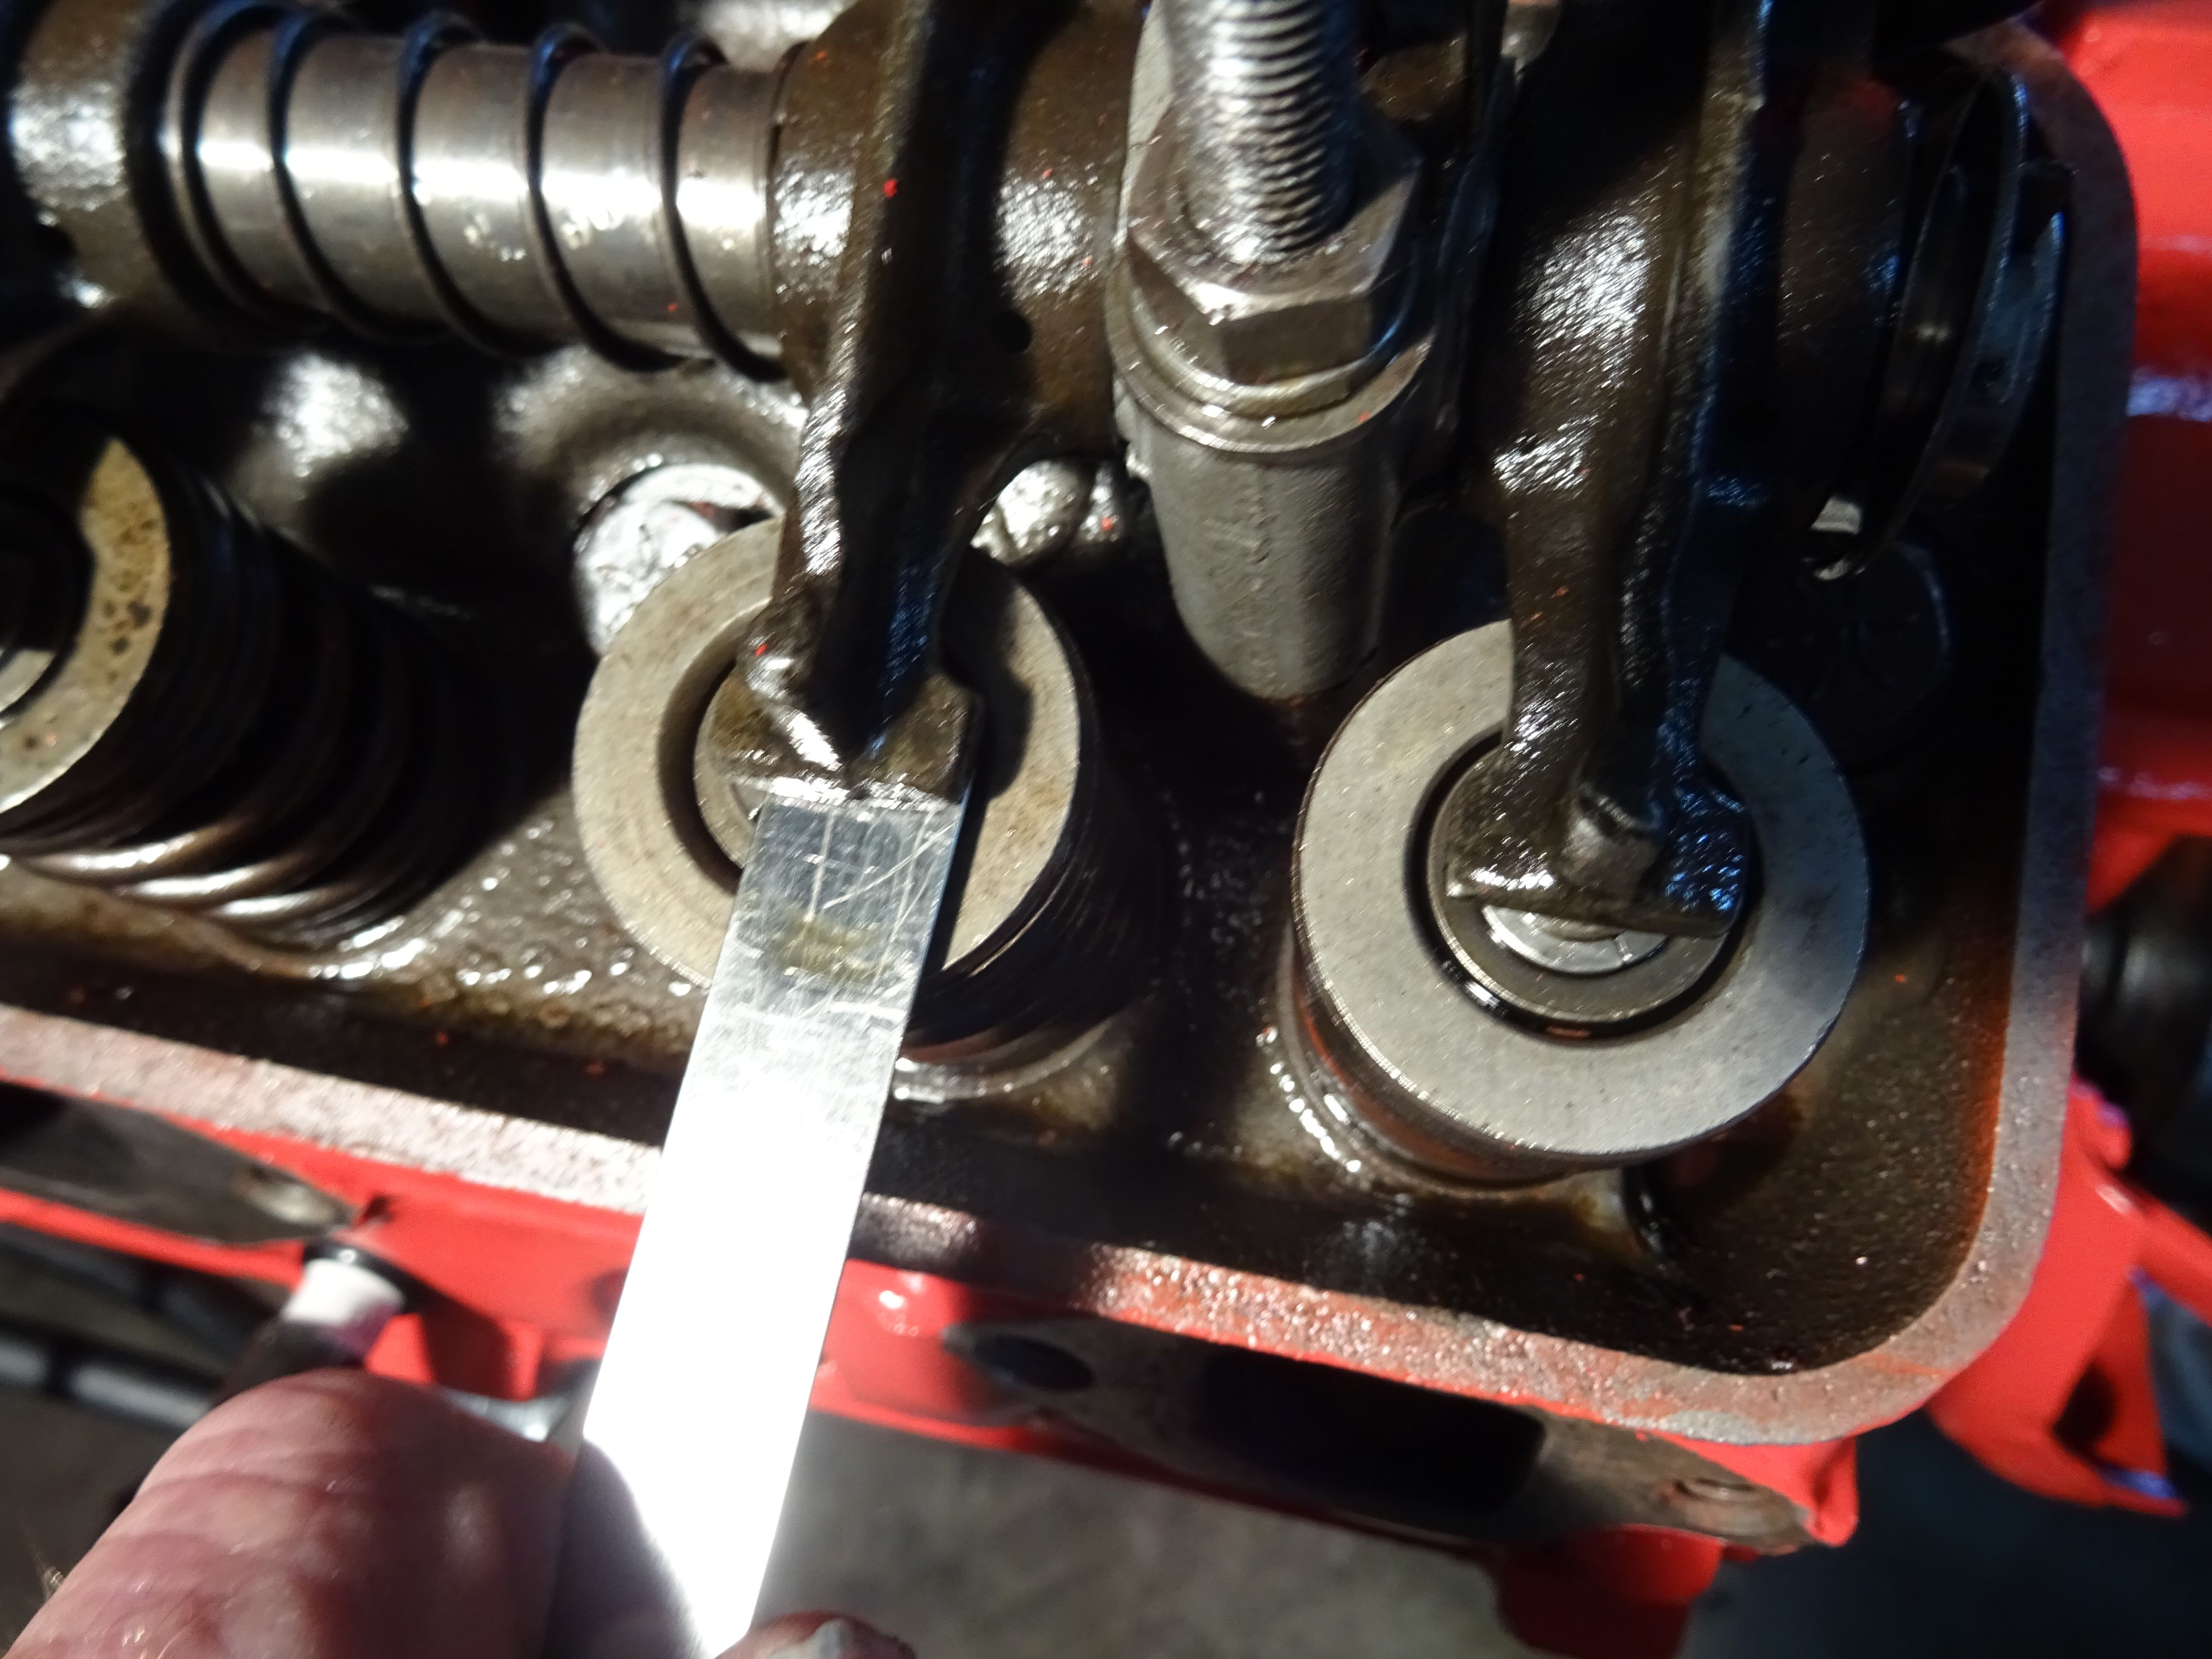
3 – Valve closure can be verified by checking clearance on #1 exhaust and intake valves, both will have clearance. Photo 3
4 – Insure the electrical connections to the distributor, coil and starter are properly connected and functioning.
(click on picture for larger image)
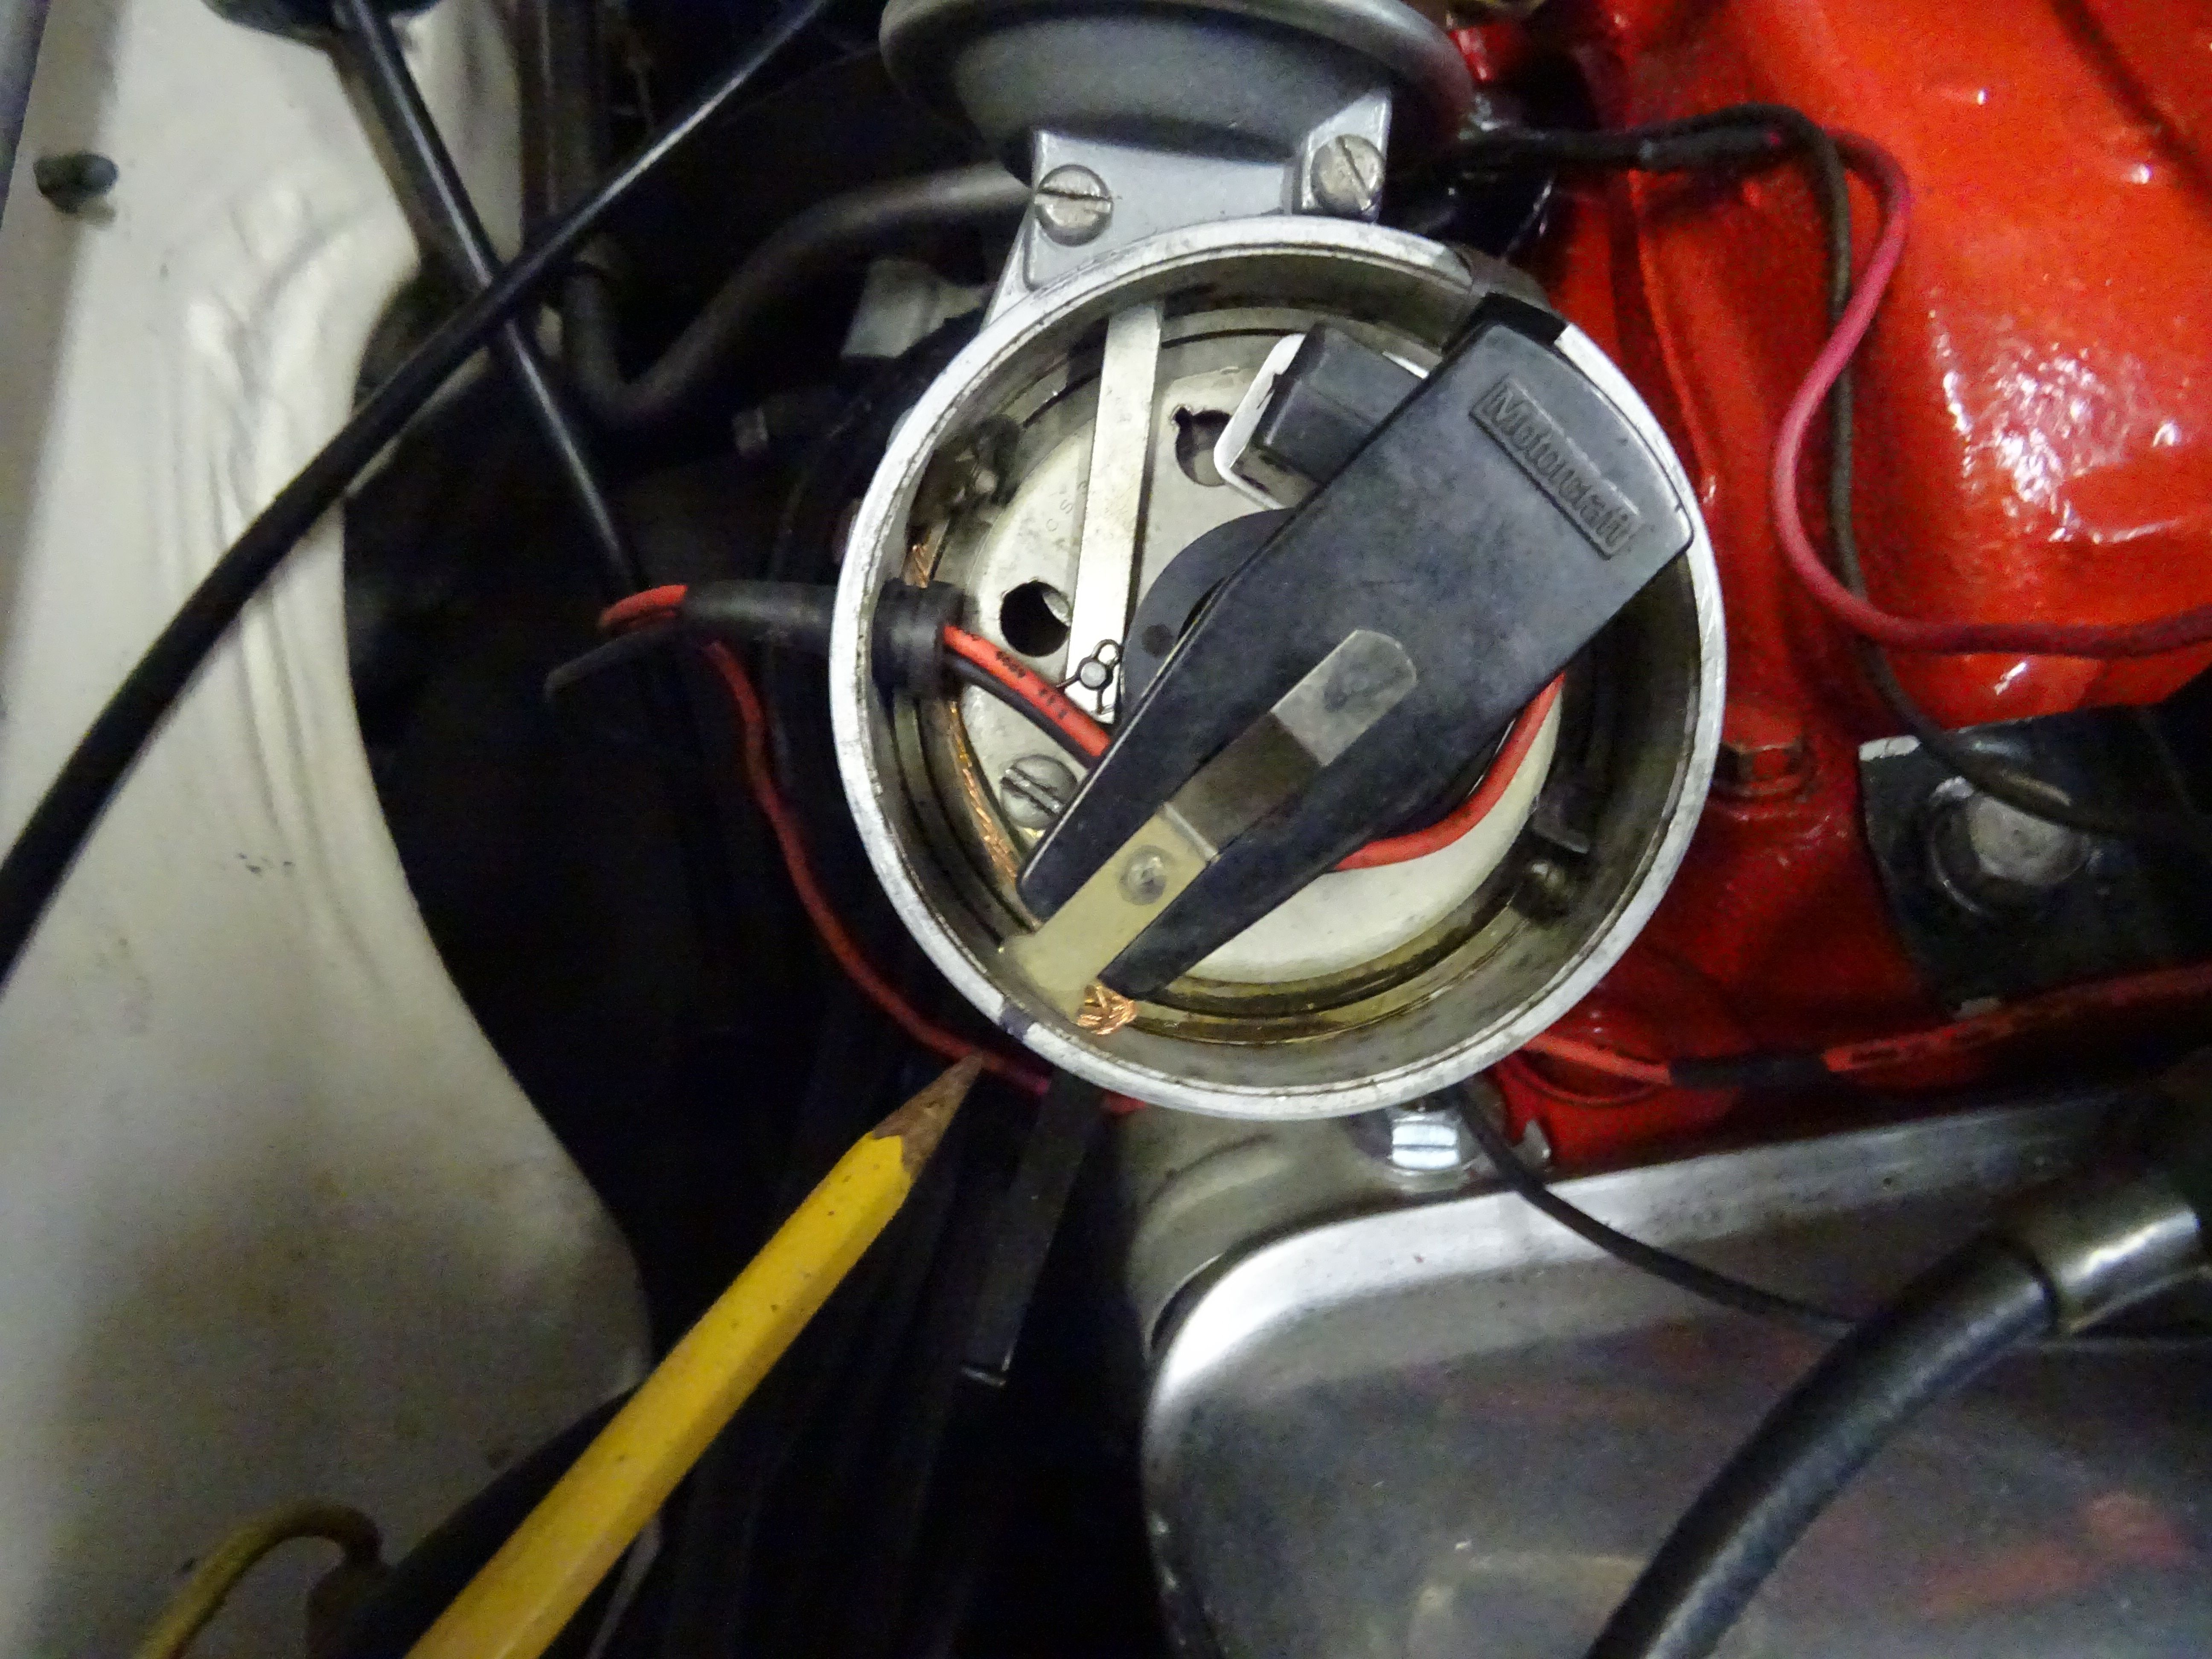
5 – Before installing the distributor, pressurize the oil system insuring that oil reaches the rocker arms. This can be accomplished with a long 1/4 drive extension with a securely attached 1/4 inch socket and an electric drill turning the oil pump shaft that the distributor would drive. Install the distributor with the rotor pointing to the #1 spark plug position which is just before the distributor cap retainer clip at the 5 o’clock position. When the distributor is properly aligned and installed with the rotor pointing at #1 spark plug wire the vacuum advance mechanism should point to the left side of the engine compartment. Photo 4
Once the engine is installed and before attempting to start, initial timing can be set more accurately. First remove all the spark plugs, this allows the engine to turn over faster, connect a timing light and a remote starter switch, engage the starter with the remote starter switch while the distributor is adjusted to set initial timing.
6 – Pressurize the fuel system to carburetor by using an electric fuel pump (if equipped) or raise the rear of the car (using proper caution) placing the gas tank higher than the engine fuel pump, fuel will gravity feed through the fuel lines toward the fuel pump making it easier for the mechanical pump to pick up fuel. Lower the car and crank the engine with ignition turned off until the carburetor is primed. Check all fuel line connections from tank to carburetor for leaks.
(click on picture for larger image)
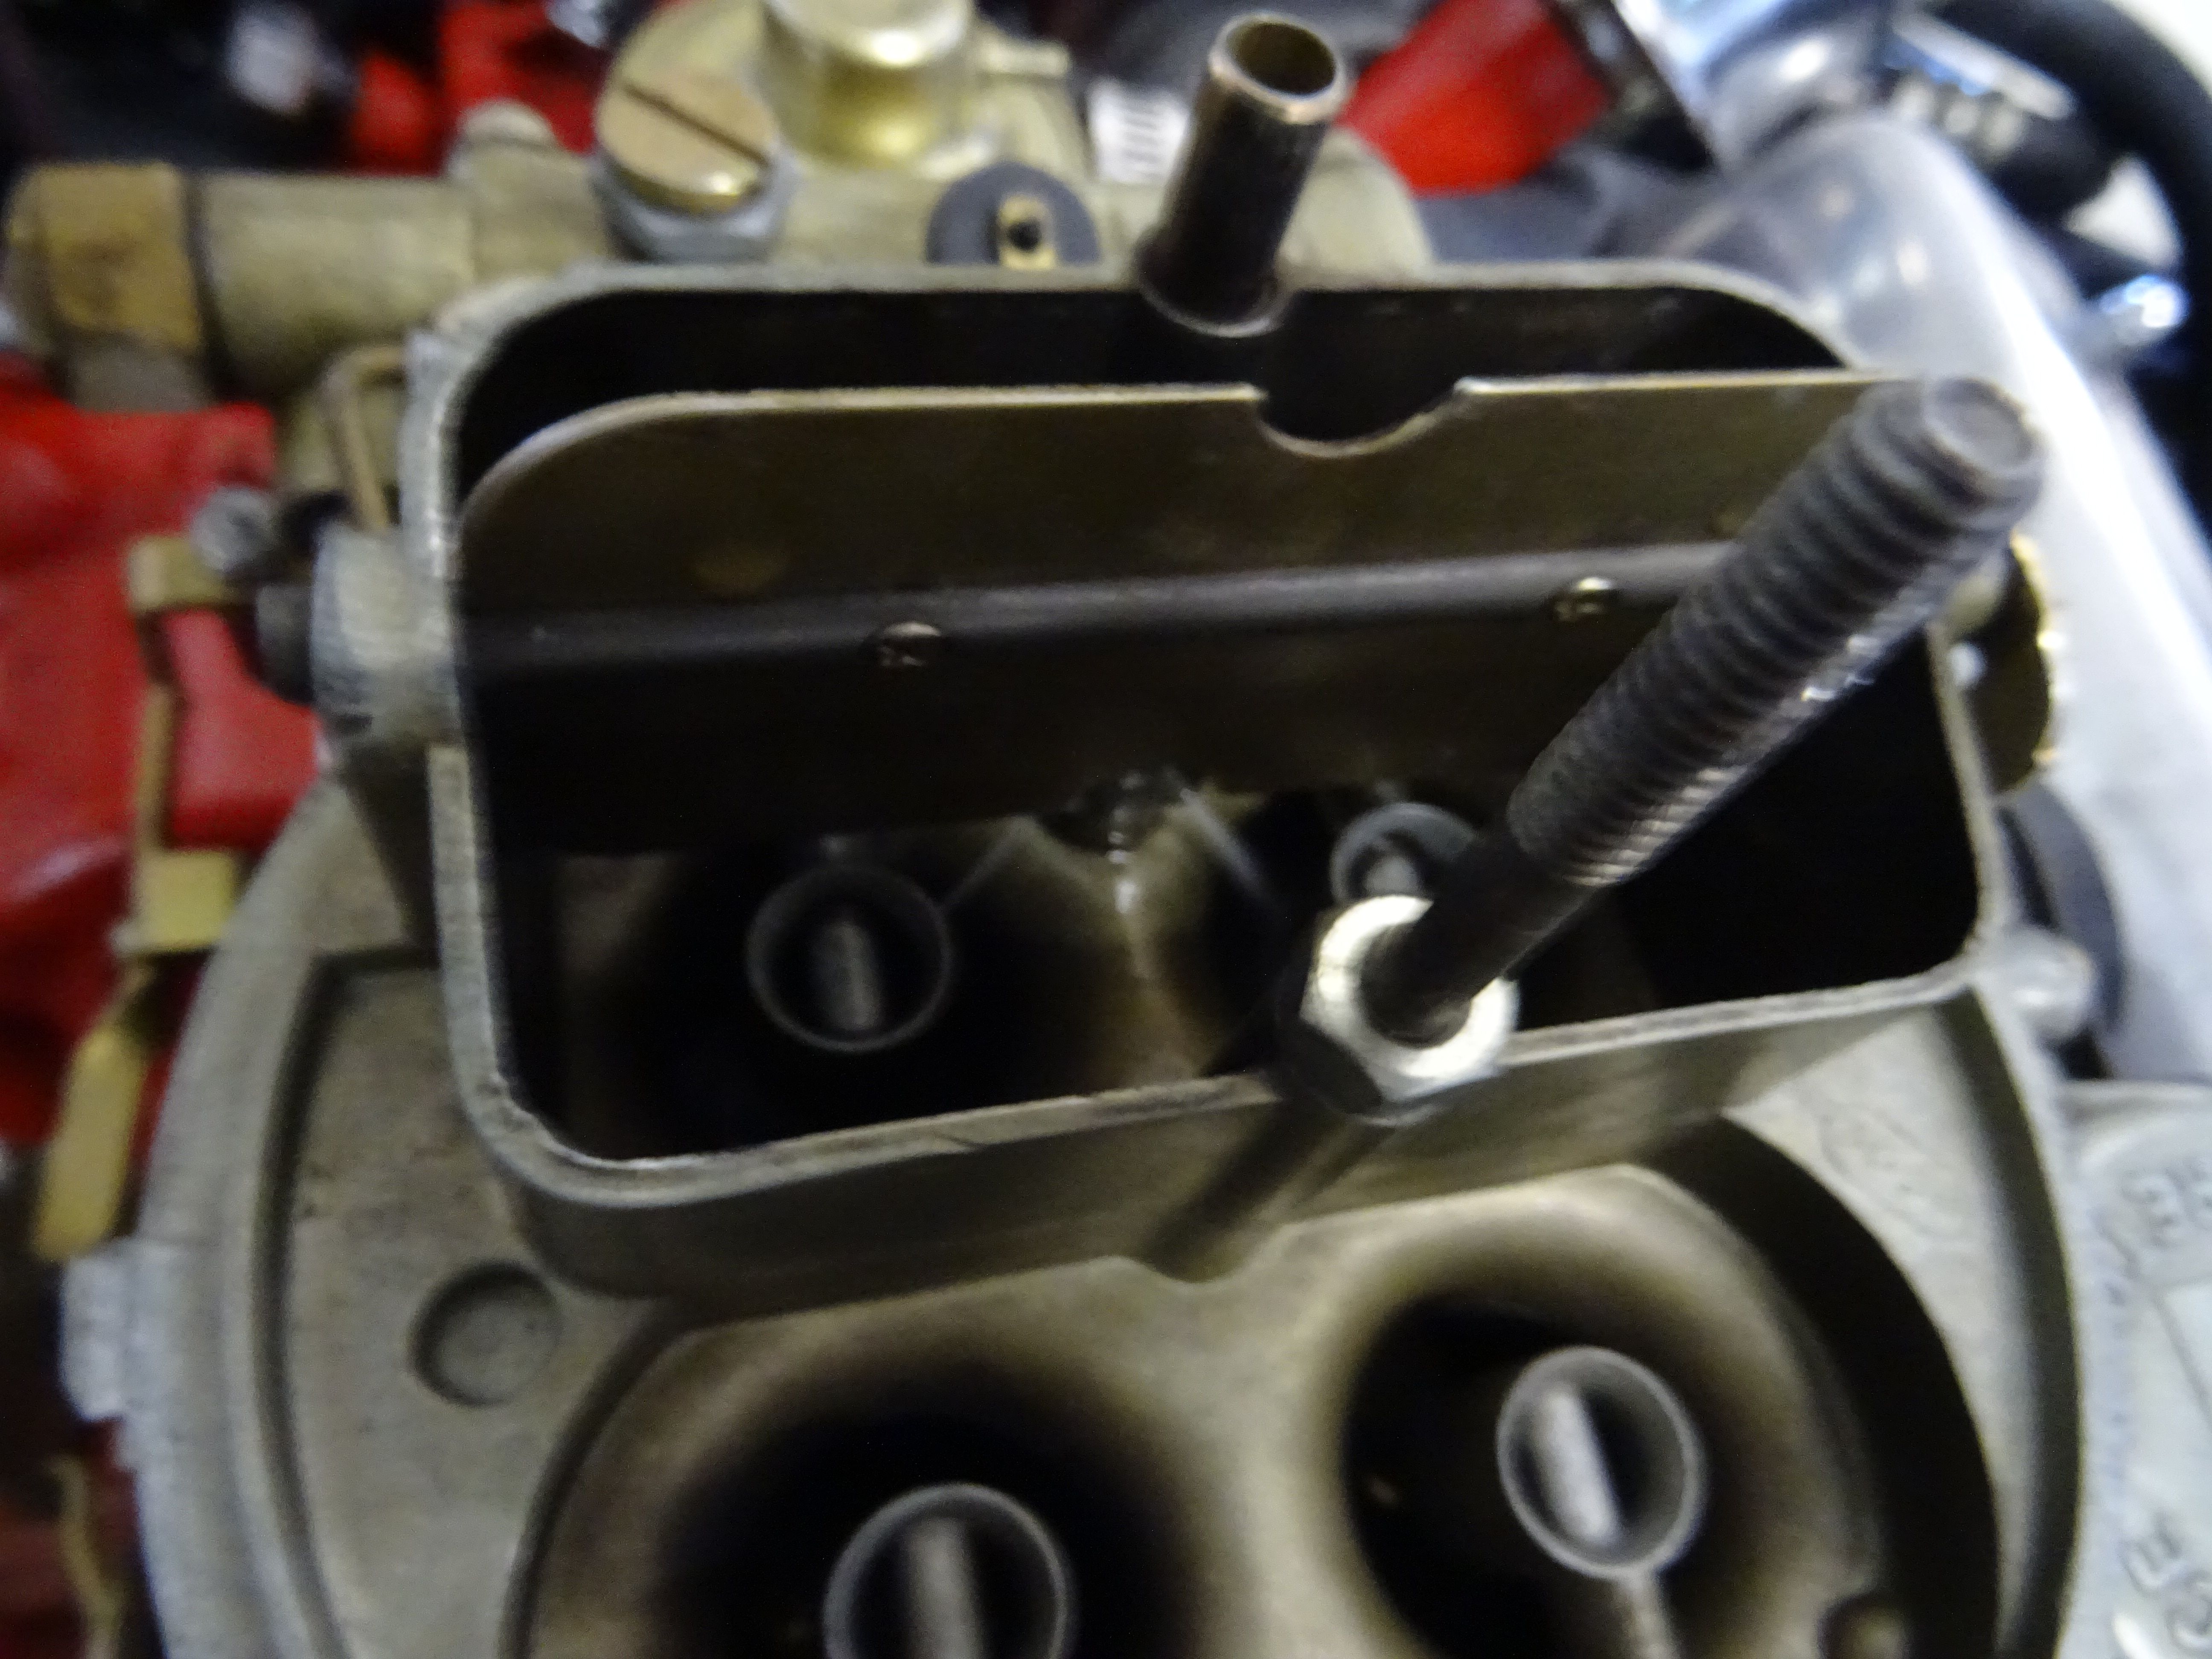
7 – Before attempting the first start and after pressurizing the fuel system, pump the throttle to insure the carburetor is primed. On 1957 models open the choke plates and check for fuel squirting from the primary nozzles as shown in photo 5.
(click on picture for larger image)
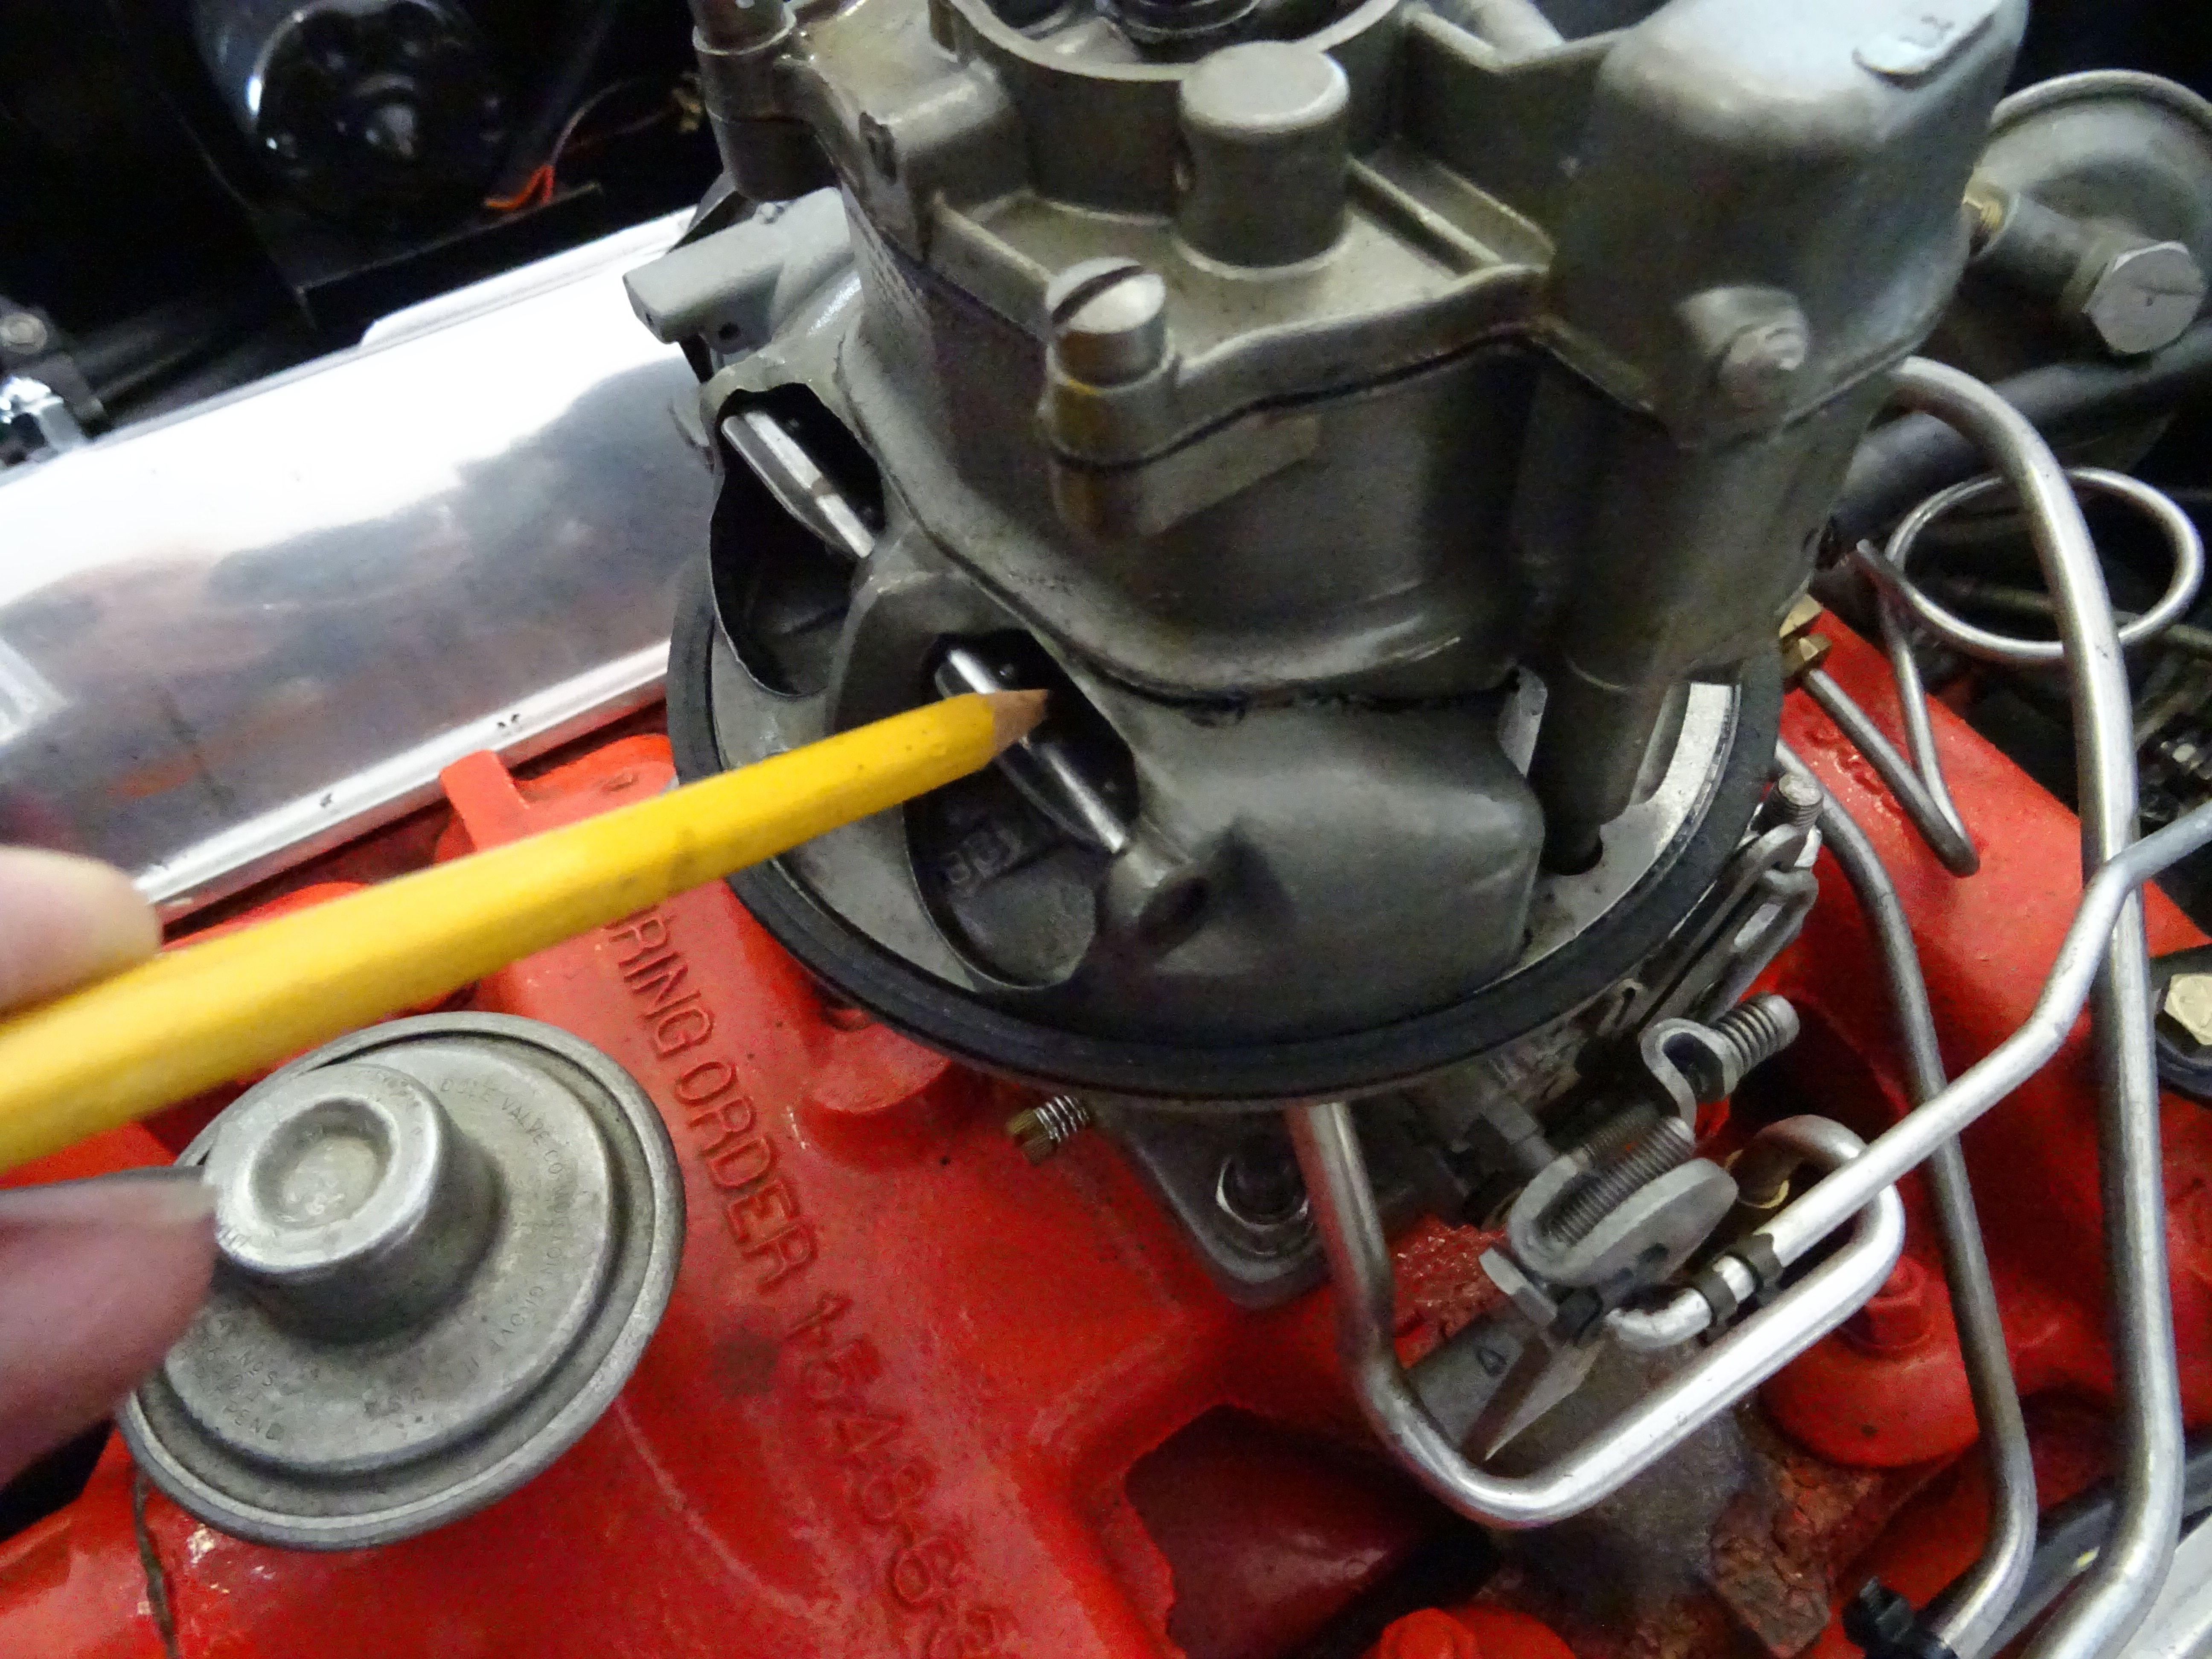
On 1955/56 models fuel can be seen squirting from the primary nozzles by looking behind the choke plates near the top opening. (Photo 6)
8 – Insure all systems requiring fluids, oil and coolants are serviced in accordance with service/shop manuals.
After insuring the transmission is in neutral, parking brake set, the engine is ready to start. It should start on the first attempt. Final adjustment of the carburetor and timing can now be completed to insure a smooth running engine. Detailed information on setting engine timing can be found on the CTCI website under Car Tech, Gil’s Garage.
Gil Baumgartner